There are many benefits that come along with laminate flooring. Not only is it extremely durable, but it’s also moisture and stain resistant, easy to clean, and economical. But how do you install it on a DIY project? Today we’ll teach you how to install laminate flooring:
Step 1: Select your flooring
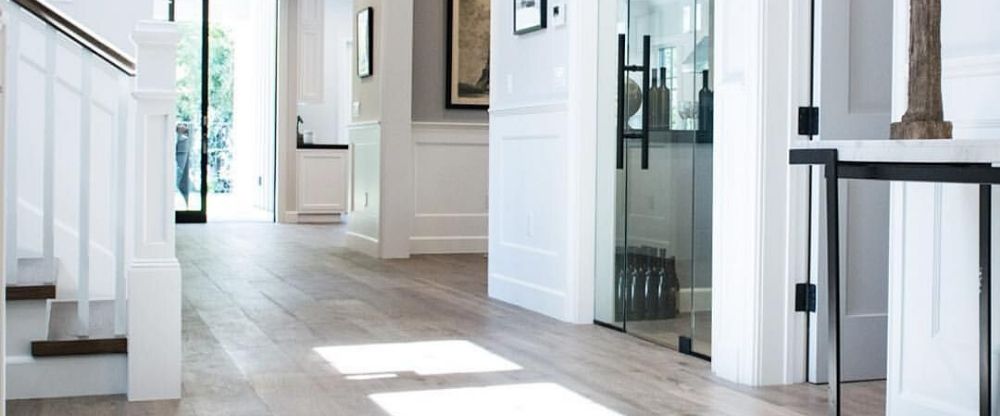
This is the funnest part! Laminate flooring comes in a variety of different styles and offers a variety of different features to choose from. Will you select smooth or glossy? Do you want it to look rugged or sophisticated? What type of finishing will you choose? How thick do you want your flooring? What AC rating will you choose for durability? There are hundreds of different options to choose from so take some time to look around and select a flooring that works best for your home and your budget.
Step 2: Determine how much flooring you will need
Before you can actually learn how to install laminate flooring, you first need to know how much of it you will need. You can do this by determining the square footage of the room. Using a tape measure, determine both the length and width of the room and then multiply them together. This will give you the square footage of flooring that you need.
To ensure that you have enough after cutting, be sure to add 10% to this number.
Step 3: Acclimation
Some laminate flooring is susceptible to shrinkage or expansion depending on the temperature of your home. For this reason, most manufacturers will recommend that you acclimate your flooring to room temperature for a few days before installing it. This will help to prevent buckling and gaps in the future.
Step 4: The prepping process
Once acclimated, you can now learn how to install laminate flooring, and it starts with preparation. If you have carpet or flooring that needs to be removed, start with that. Then remove your baseboards and ensure that your subfloor is smooth and flat. If there are any impressions or dips, repair those before installing your new floor.
Step 5: Prep the Subfloor
One of the best things about laminate flooring is that it can be installed overtop of most flooring types. With that being said, you need to prepare your subfloor before you can install your new floor. Do this by ensuring that all dust, debris, and objects are removed and that your floor is clean.
Step 6: Install the underlay
Underlay is a piece of material that will be installed on top of your subfloor and under your laminate floor. This will help to smooth out surface of the floor and absorb noise later on. It can also help to block out moisture and prevent expansion, cupping, and gaping.
If your flooring already has pre-attached underlay, you can skip this step.
Step 7: Add spacers
Spacers should be added against the walls. These will provide you with a small gap when installing your laminate flooring, and will ensure that there is room for normal expansion and contraction.
Step 8: Install your laminate
Finally, start installing your laminate flooring one row at a time. It’s recommended that you layout the flooring completely before actually installing it. This way you can be certain that it all fits perfectly before you begin.
Always be sure to follow manufacturer instructions during this step.
And there you have it – that’s how to install your own laminate floor! Not sure that a DIY flooring project is the right choice for you? Call Zack Hardwood Flooring in Charlotte, NC today to get a free estimate for complete flooring installation from a professional.
Carolina Flooring Services
- Hardwood Floor Refinishing – http://zackhardwoodflooring.com/hardwood-floor-refinishing/
- Hardwood Floor Installation – http://zackhardwoodflooring.com/hardwood-floor-installation/
- LVP Floor Installation – http://zackhardwoodflooring.com/lvp-flooring-installation/
- Wood Stairs Remodeling – http://zackhardwoodflooring.com/wood-stair-remodeling/
Zack Hardwood Flooring provides hardwood installation and refinishing, and other flooring installations in Charlotte and the surrounding areas.